

Roof Installation: A Step-by-Step Approach to Installing Metal Roofing
Home Plantation Inc >> Home>> Roof Installation: A Step-by-Step Approach to Installing Metal Roofing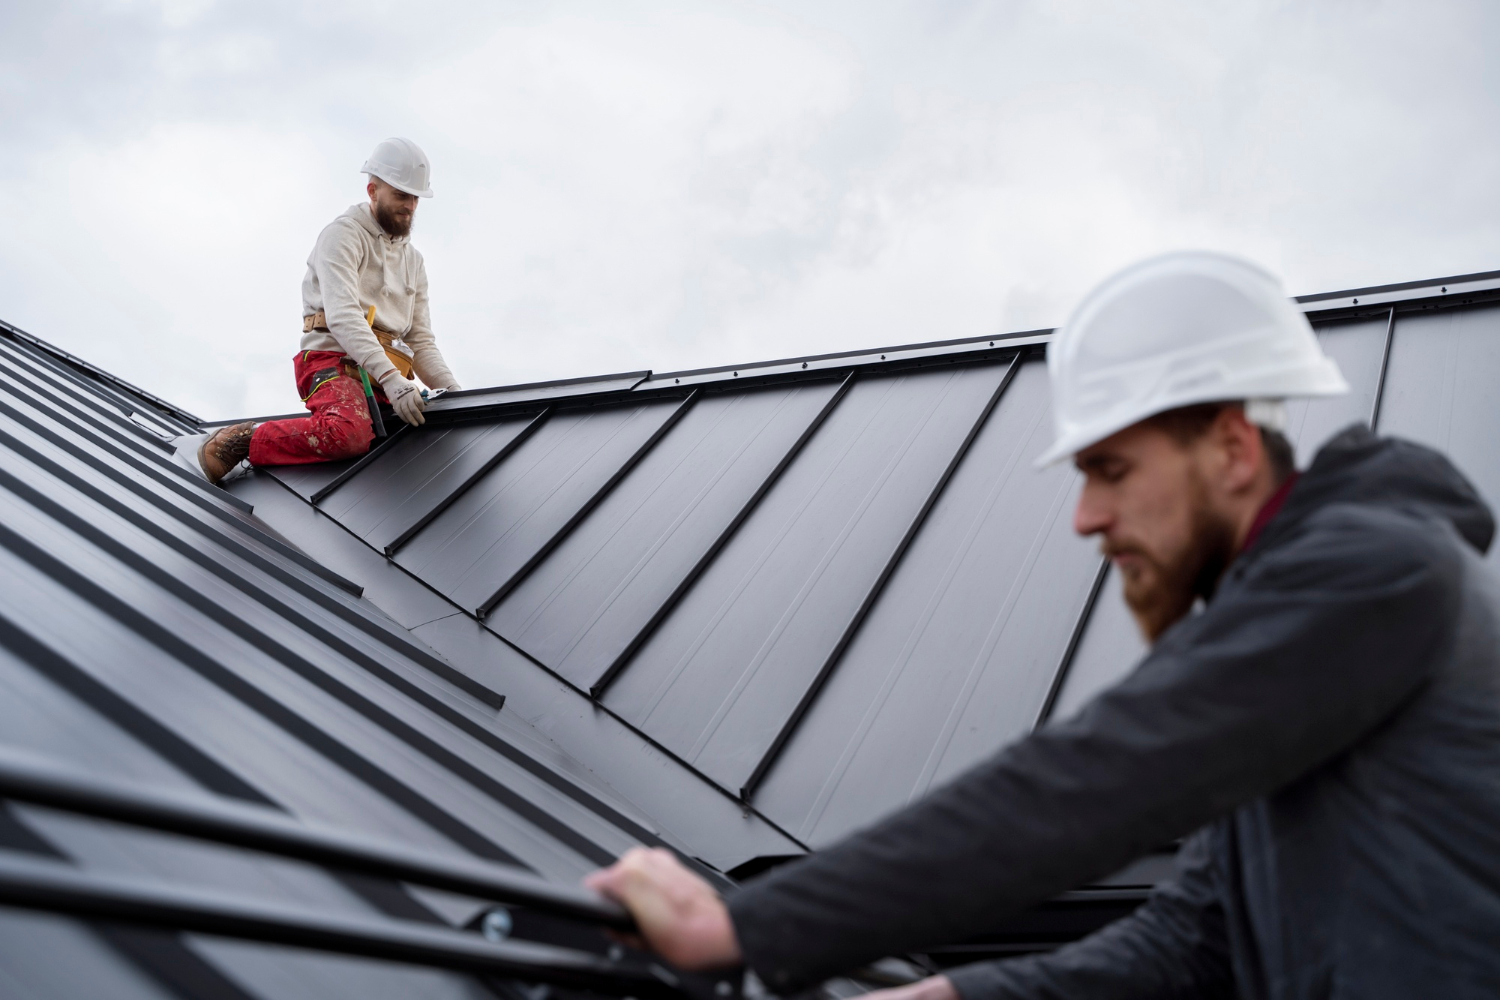
Roof Installation: A Step-by-Step Approach to Installing Metal Roofing
When it comes to roofing materials, metal roofing stands out as a durable, long-lasting, and energy-efficient choice. Whether you’re building a new home or replacing an old roof, metal roofing offers numerous benefits that make it a popular option among homeowners. Installing a metal roof may seem daunting, but with the right tools and a clear step-by-step approach, the process can be manageable. This guide will walk you through everything you need to know for a successful metal roof installation.
Understanding Metal Roofing Basics
Before diving into the installation process, it’s important to familiarize yourself with the basics of metal roofing. Metal roofs are typically made from steel, aluminum, copper, or zinc, each offering unique advantages in terms of durability, weight, and corrosion resistance. They come in various styles, including standing seam, corrugated panels, and shingles, allowing you to choose the best option for your home’s aesthetic and functionality. While metal roofing is more expensive than traditional asphalt shingles, its longevity—often lasting 40-70 years—means it can be a more cost-effective option in the long run. Furthermore, metal roofing reflects heat, improving energy efficiency, and is highly resistant to severe weather conditions like hail, heavy snow, and wind.
Gathering the Right Tools and Materials
 Before beginning the installation, make sure you have all the necessary tools and materials. You’ll need safety gear, including gloves, eye protection, and a sturdy ladder. For the installation itself, essential tools include a power drill, screwdrivers, tin snips (for cutting metal), a hammer, a chalk line, and a measuring tape. Additionally, you’ll need metal panels, screws, underlayment, flashing, and a ridge cap to complete the roof installation. Ensure that the metal roofing panels are appropriate for your climate and that they fit the dimensions of your roof. The panels should come with pre-punched holes to help secure them with screws. You can view details on the exact specifications for your roof type by checking with the manufacturer or supplier.
Preparing the Roof Deck
Proper preparation of the roof deck is key to a successful installation. Start by removing any old roofing material, including shingles or tiles. Inspect the roof decking for any signs of damage or rot, and replace any compromised sections before continuing. Once the roof is clear, ensure that the decking is level and clean. You’ll need to install a layer of underlayment (such as roofing felt or synthetic underlayment) to provide a moisture barrier and extra protection against the elements. The underlayment should overlap at the edges of the roof to ensure proper water runoff. Once in place, secure it with staples or roofing nails.
Installing the Metal Panels
Now that your roof deck is ready, it’s time to install the metal panels. Start at the bottom edge of the roof, and work your way up. Begin by positioning the first panel in the corner of the roof, ensuring it’s properly aligned with the eaves and straight across the roof. Secure the panel in place using roofing screws designed for metal roofing. Be sure to drill the screws through the raised seams (not the flat part of the panel) to maintain a clean, watertight finish. As you install each subsequent panel, overlap the edges with the one before it. This overlap ensures that rainwater flows away from the seams rather than seeping through. Continue securing the panels with screws, making sure that each panel is tightly fixed to prevent wind damage.
Flashing and Ridge Cap Installation

Once the metal panels are installed, the next step is to install the flashing and ridge cap. Flashing is a critical part of the roofing system, as it helps prevent water from seeping into vulnerable areas such as valleys, vents, and chimneys. For the valleys, install pre-formed flashing or custom-cut metal pieces along the intersection of the roof planes. At the roof’s peak, install the ridge cap to seal the top edge of the roof. The ridge cap covers the joints between the panels, ensuring that rainwater doesn’t find its way into the roof space. Make sure that all flashing is properly sealed with roofing sealant to prevent leaks. The ridge cap should be screwed in place, following the same pattern used for securing the metal panels.
Final Inspections and Touches
After completing the installation, it’s essential to inspect your work. Walk around the roof to ensure that all the panels are securely attached, with no loose or exposed areas. Check for any gaps between the panels or flashing and seal them as necessary. Look over the edges of the roof for smooth transitions, ensuring that there are no sharp or exposed areas that could damage the metal over time. Additionally, ensure that all the screws are properly tightened, but avoid over-tightening, as this can damage the metal. Finally, clean up the roof by removing any debris or excess material. You can also check the entire installation one last time to ensure that everything is up to code and looks neat and secure.
Installing a metal roof might seem challenging, but with the right preparation and a clear, step-by-step approach, it’s a manageable project for those with DIY experience. The benefits of metal roofing—durability, energy efficiency, and resistance to harsh weather—make it a worthwhile investment in your home. By following this guide, you can ensure that your metal roof is installed properly, protecting your home for years to come.