

Roof Installation: A Step-by-Step Approach to Installing Metal Roofing
When it comes to roofing materials, metal roofing stands out as a durable, long-lasting, and energy-efficient choice. Whether you’re building a new home or replacing an old roof, metal roofing offers numerous benefits that make it a popular option among homeowners. Installing a metal roof may seem daunting, but with the right tools and a clear step-by-step approach, the process can be manageable. This guide will walk you through everything you need to know for a successful metal roof installation.
Understanding Metal Roofing Basics
Before diving into the installation process, it’s important to familiarize yourself with the basics of metal roofing. Metal roofs are typically made from steel, aluminum, copper, or zinc, each offering unique advantages in terms of durability, weight, and corrosion resistance. They come in various styles, including standing seam, corrugated panels, and shingles, allowing you to choose the best option for your home’s aesthetic and functionality. While metal roofing is more expensive than traditional asphalt shingles, its longevity—often lasting 40-70 years—means it can be a more cost-effective option in the long run. Furthermore, metal roofing reflects heat, improving energy efficiency, and is highly resistant to severe weather conditions like hail, heavy snow, and wind.
Gathering the Right Tools and Materials
 Before beginning the installation, make sure you have all the necessary tools and materials. You’ll need safety gear, including gloves, eye protection, and a sturdy ladder. For the installation itself, essential tools include a power drill, screwdrivers, tin snips (for cutting metal), a hammer, a chalk line, and a measuring tape. Additionally, you’ll need metal panels, screws, underlayment, flashing, and a ridge cap to complete the roof installation. Ensure that the metal roofing panels are appropriate for your climate and that they fit the dimensions of your roof. The panels should come with pre-punched holes to help secure them with screws. You can view details on the exact specifications for your roof type by checking with the manufacturer or supplier.
Preparing the Roof Deck
Proper preparation of the roof deck is key to a successful installation. Start by removing any old roofing material, including shingles or tiles. Inspect the roof decking for any signs of damage or rot, and replace any compromised sections before continuing. Once the roof is clear, ensure that the decking is level and clean. You’ll need to install a layer of underlayment (such as roofing felt or synthetic underlayment) to provide a moisture barrier and extra protection against the elements. The underlayment should overlap at the edges of the roof to ensure proper water runoff. Once in place, secure it with staples or roofing nails.
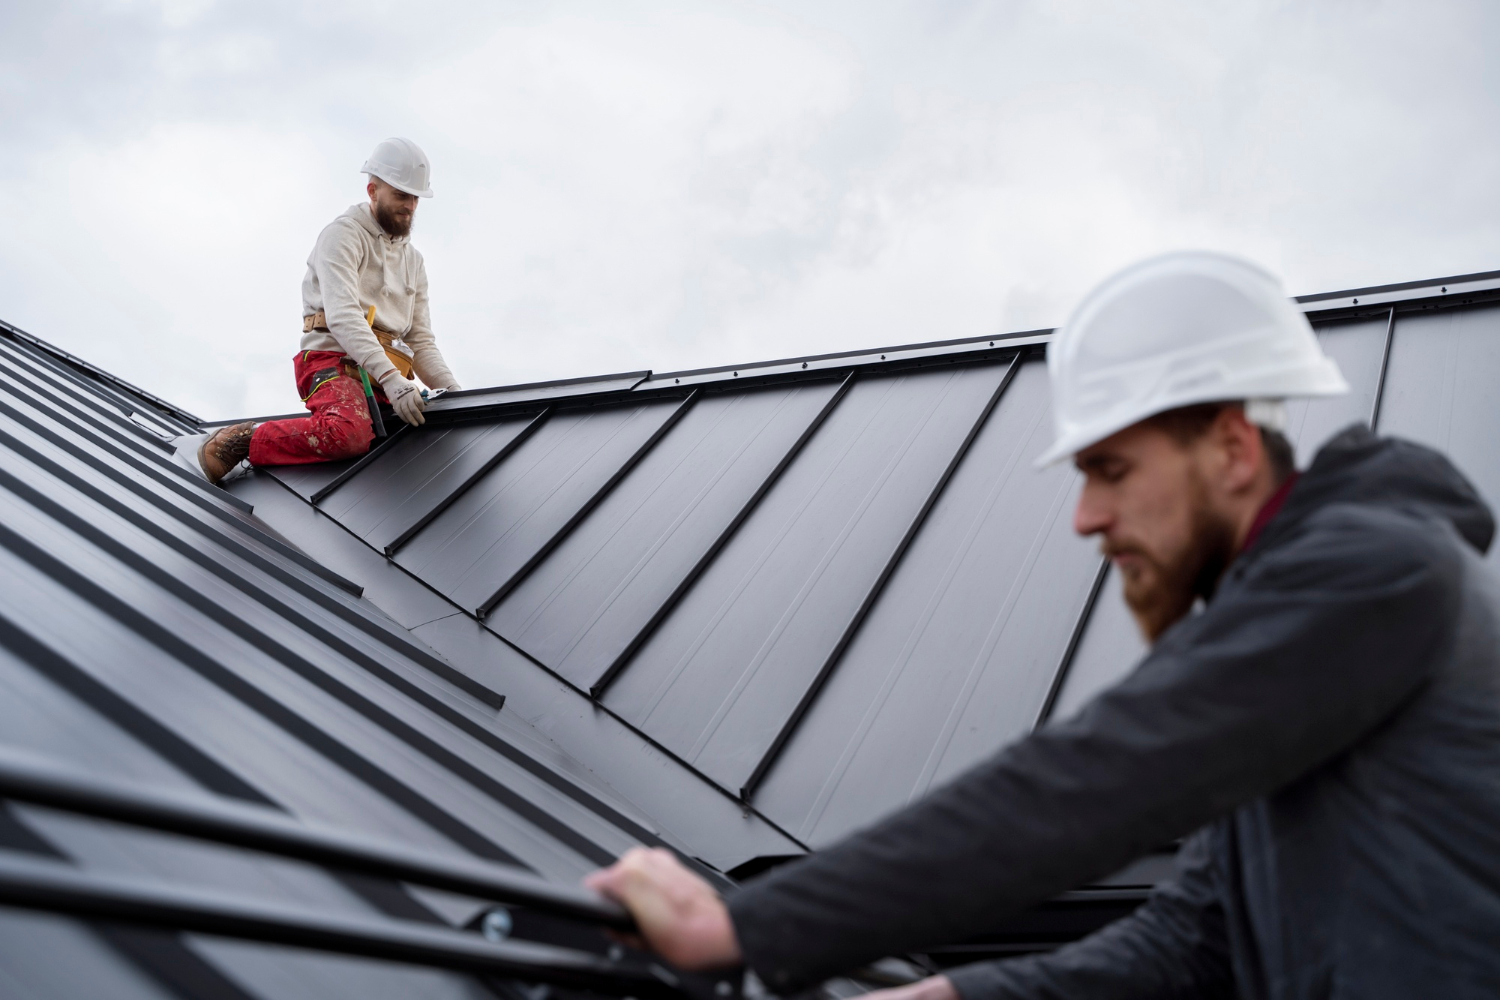
Installing the Metal Panels
Now that your roof deck is ready, it’s time to install the metal panels. Start at the bottom edge of the roof, and work your way up. Begin by positioning the first panel in the corner of the roof, ensuring it’s properly aligned with the eaves and straight across the roof. Secure the panel in place using roofing screws designed for metal roofing. Be …